Snap Epic Hiking Photos: 11 Tips for Phone Photography
How to take breathtaking hiking photos with your phone — simple tips to capture light, perspective, movement, and landscapes that tell your story.

Suzana
Published April 12, 2026
Edited May 14, 2026
7 min read

Quick links
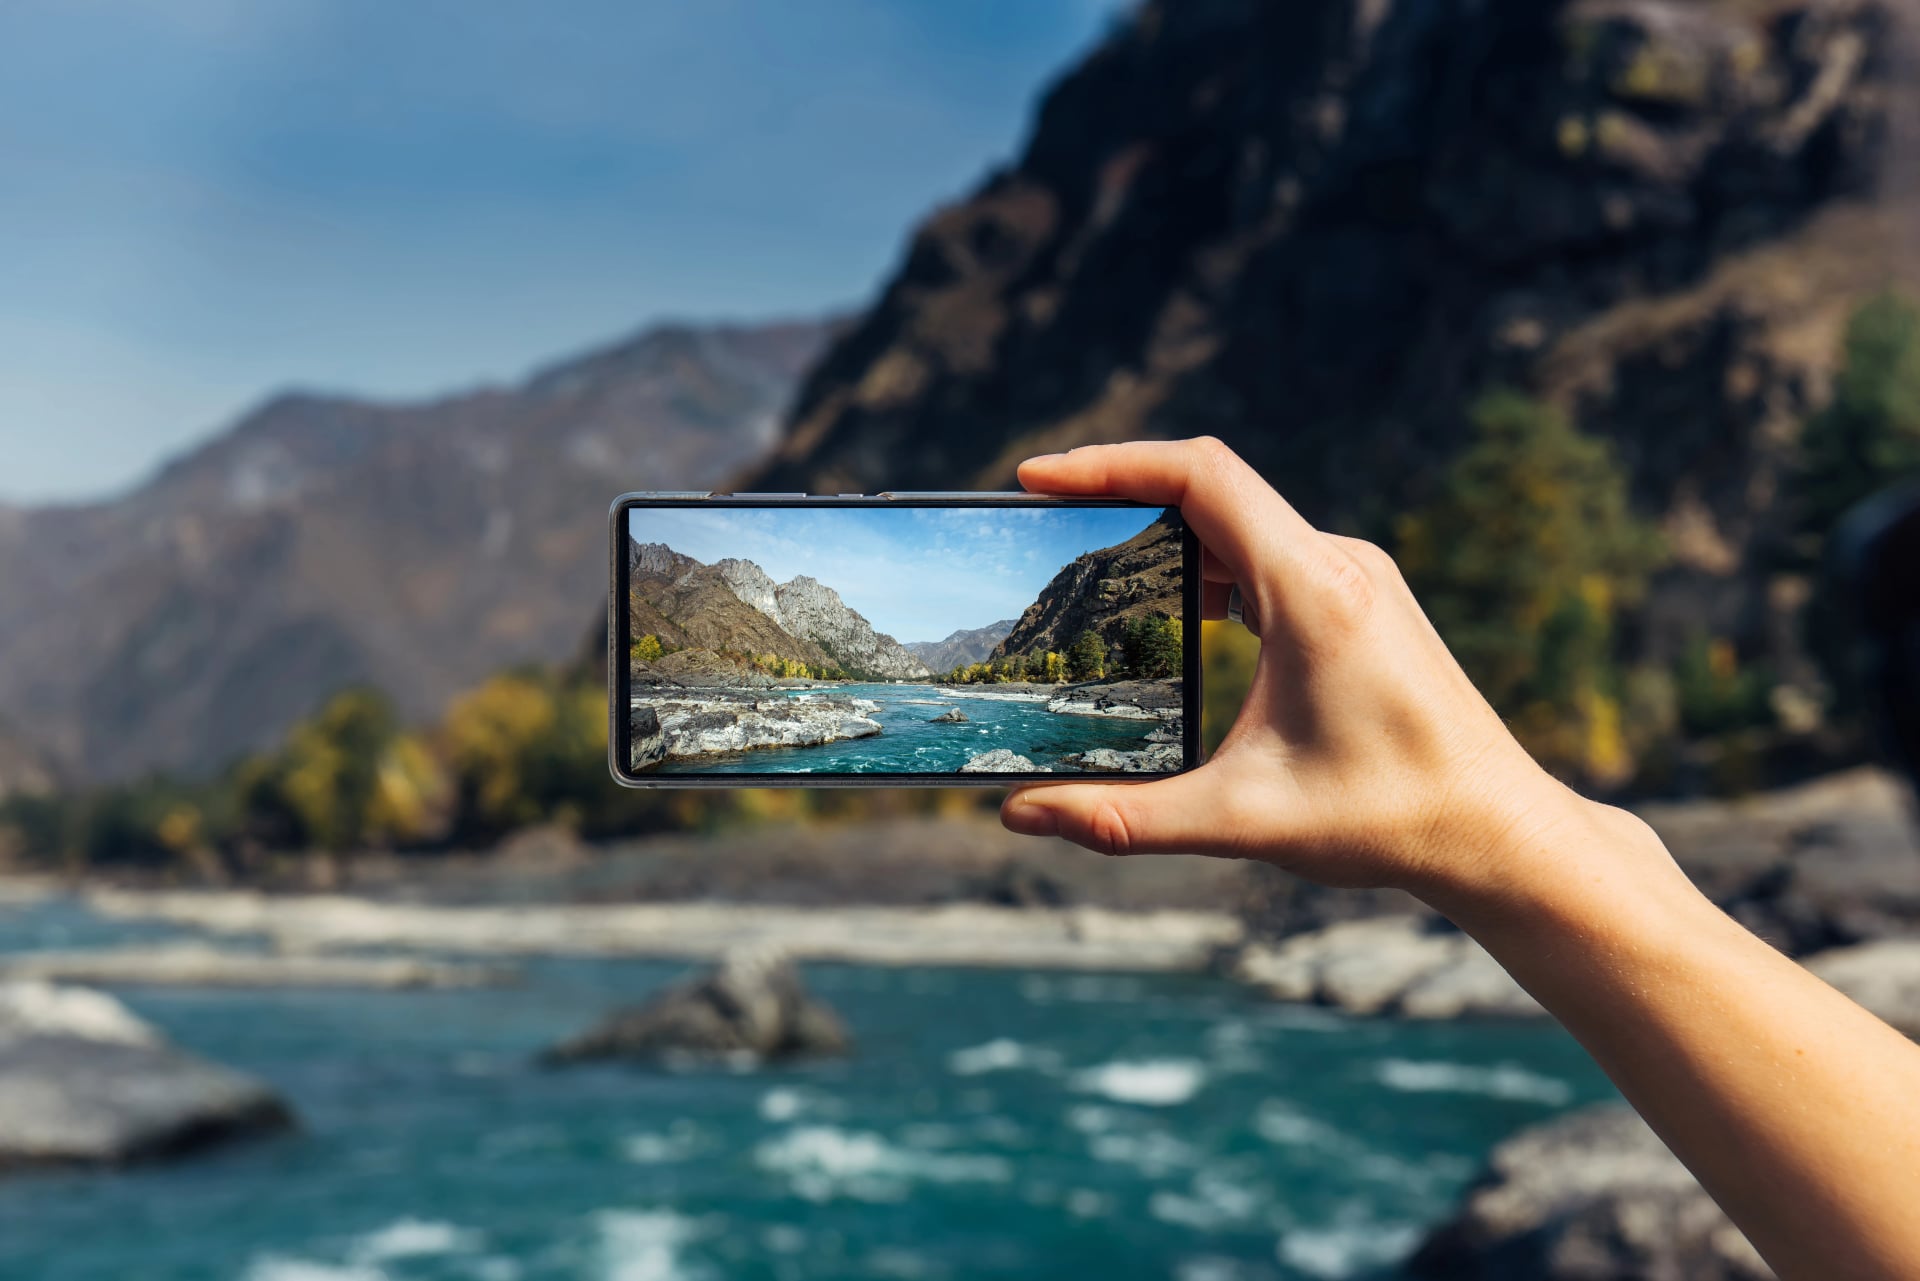
So you've just hiked three hours to a stunning viewpoint, the light is perfect, the mountains are glowing — and your photo looks like a blurry postcard from 1997. We've all been there.
The good news?
You don't need a fancy DSLR or a photography degree to capture incredible trail moments.
Your phone is more than capable of producing photos that'll make your friends say:
"Wait, YOU took that?!"
Here's how to make it happen.
1. Clean Your Lens (Seriously, Do It)
This one sounds ridiculous, but it's the single biggest upgrade you can make in two seconds flat. Your phone lives in your pocket with lint, sunscreen residue, and who knows what else. Give that lens a quick wipe with your shirt before every shot.

2. Chase the Golden Hours
The harsh midday sun is nobody's friend. Everything looks flat, washed out, and weirdly shadowy under your hat. The magic happens in the first hour after sunrise and the last hour before sunset, when the light turns warm, soft, and dramatic.
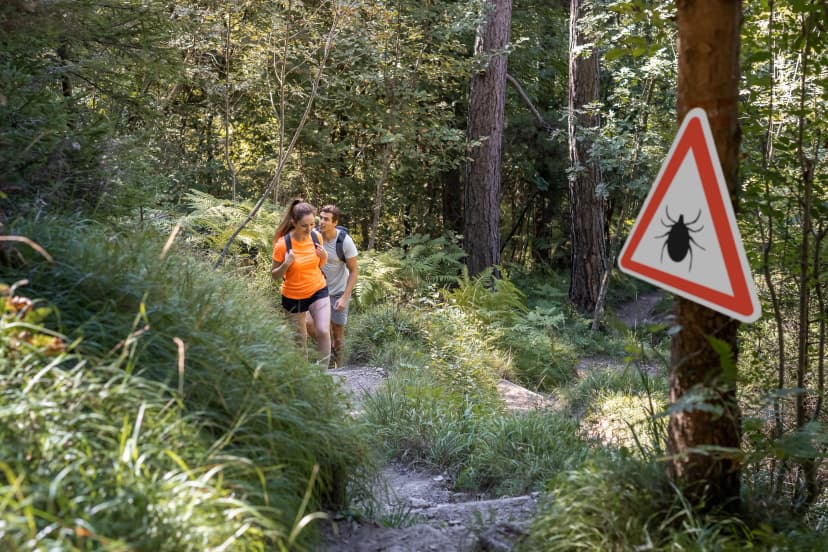
If you're already on the trail at noon, don't stress — look for shaded forest paths, waterfalls, or close-up details that work beautifully in diffused light.
Save the big panoramic shots for early morning or late afternoon when the landscape really comes alive.
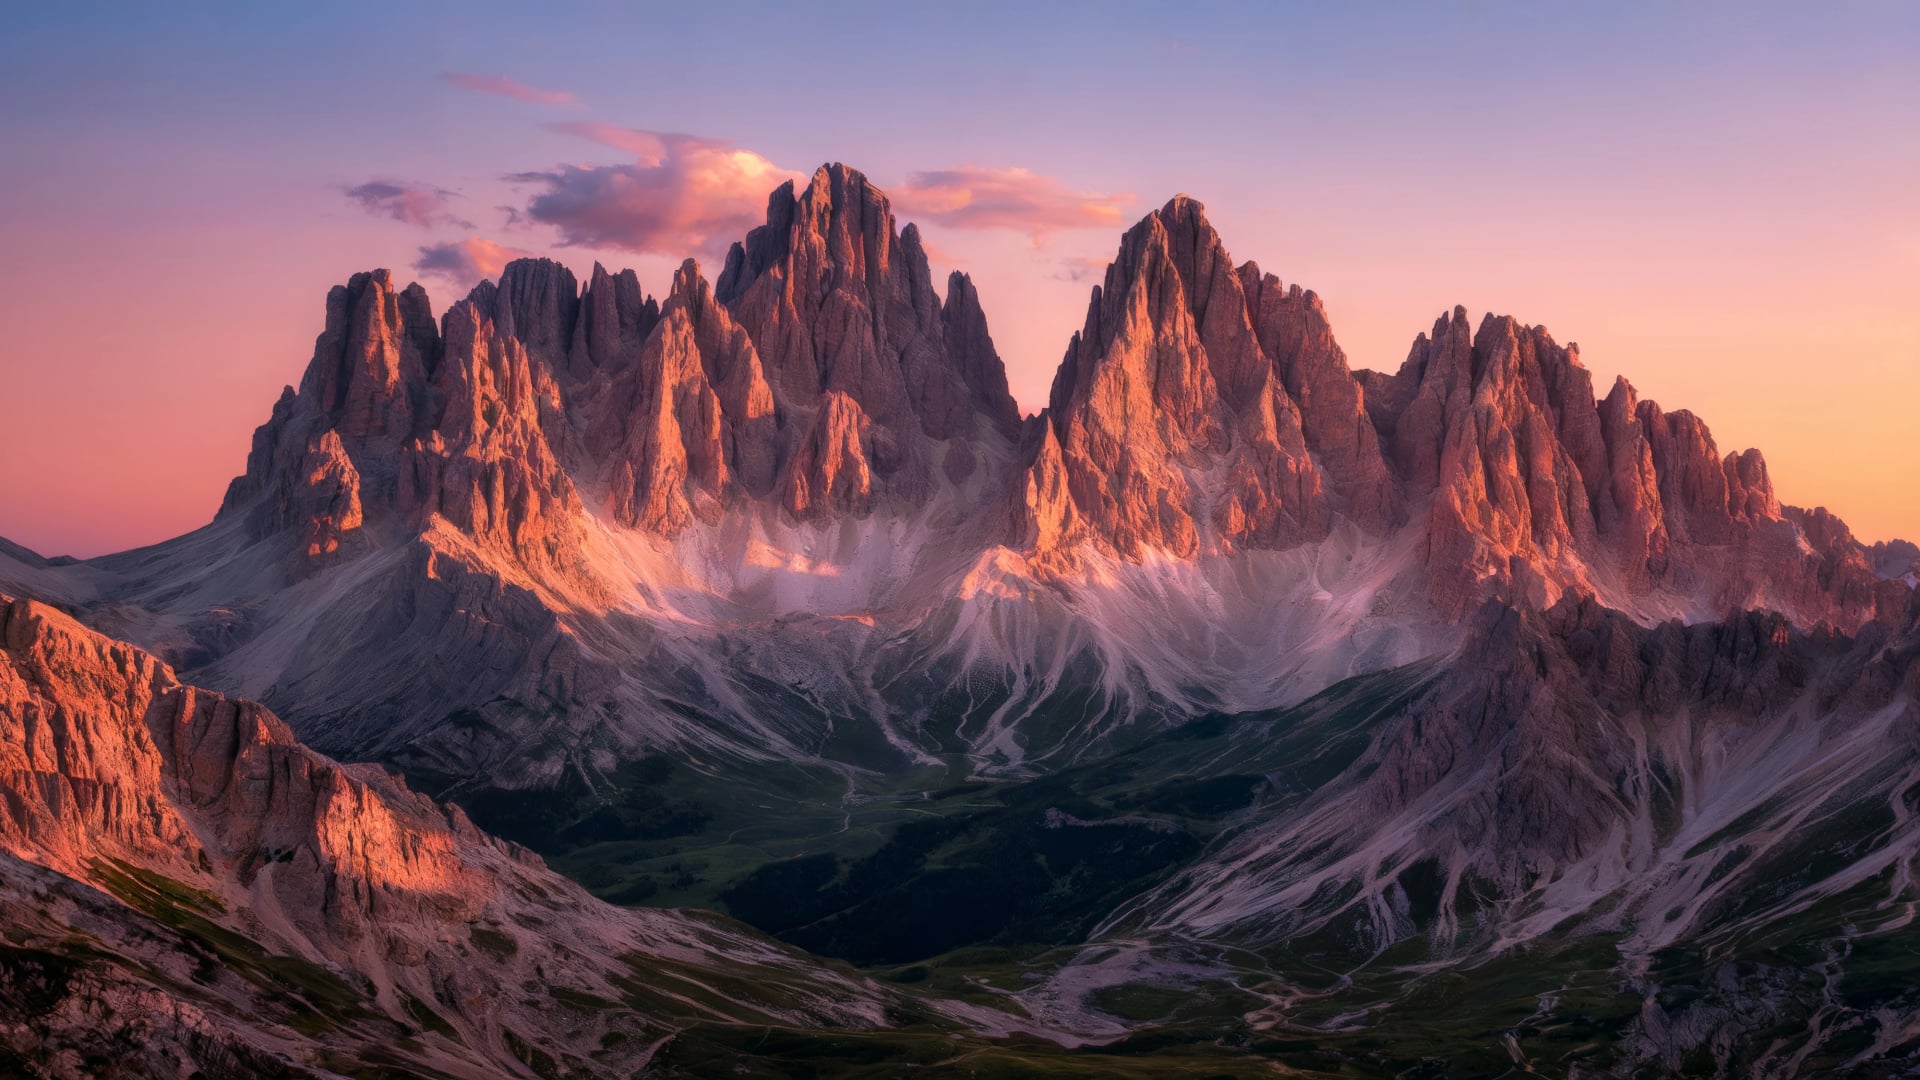
If you’re photographing a sunset while hiking in the Dolomites, you almost don’t have to lift a finger — the Enrosadira phenomenon does the work for you. Notice the sun dips, the pale limestone mountains glow pink and orange, creating one of those rare moments where even a simple phone photo looks absolutely magical.
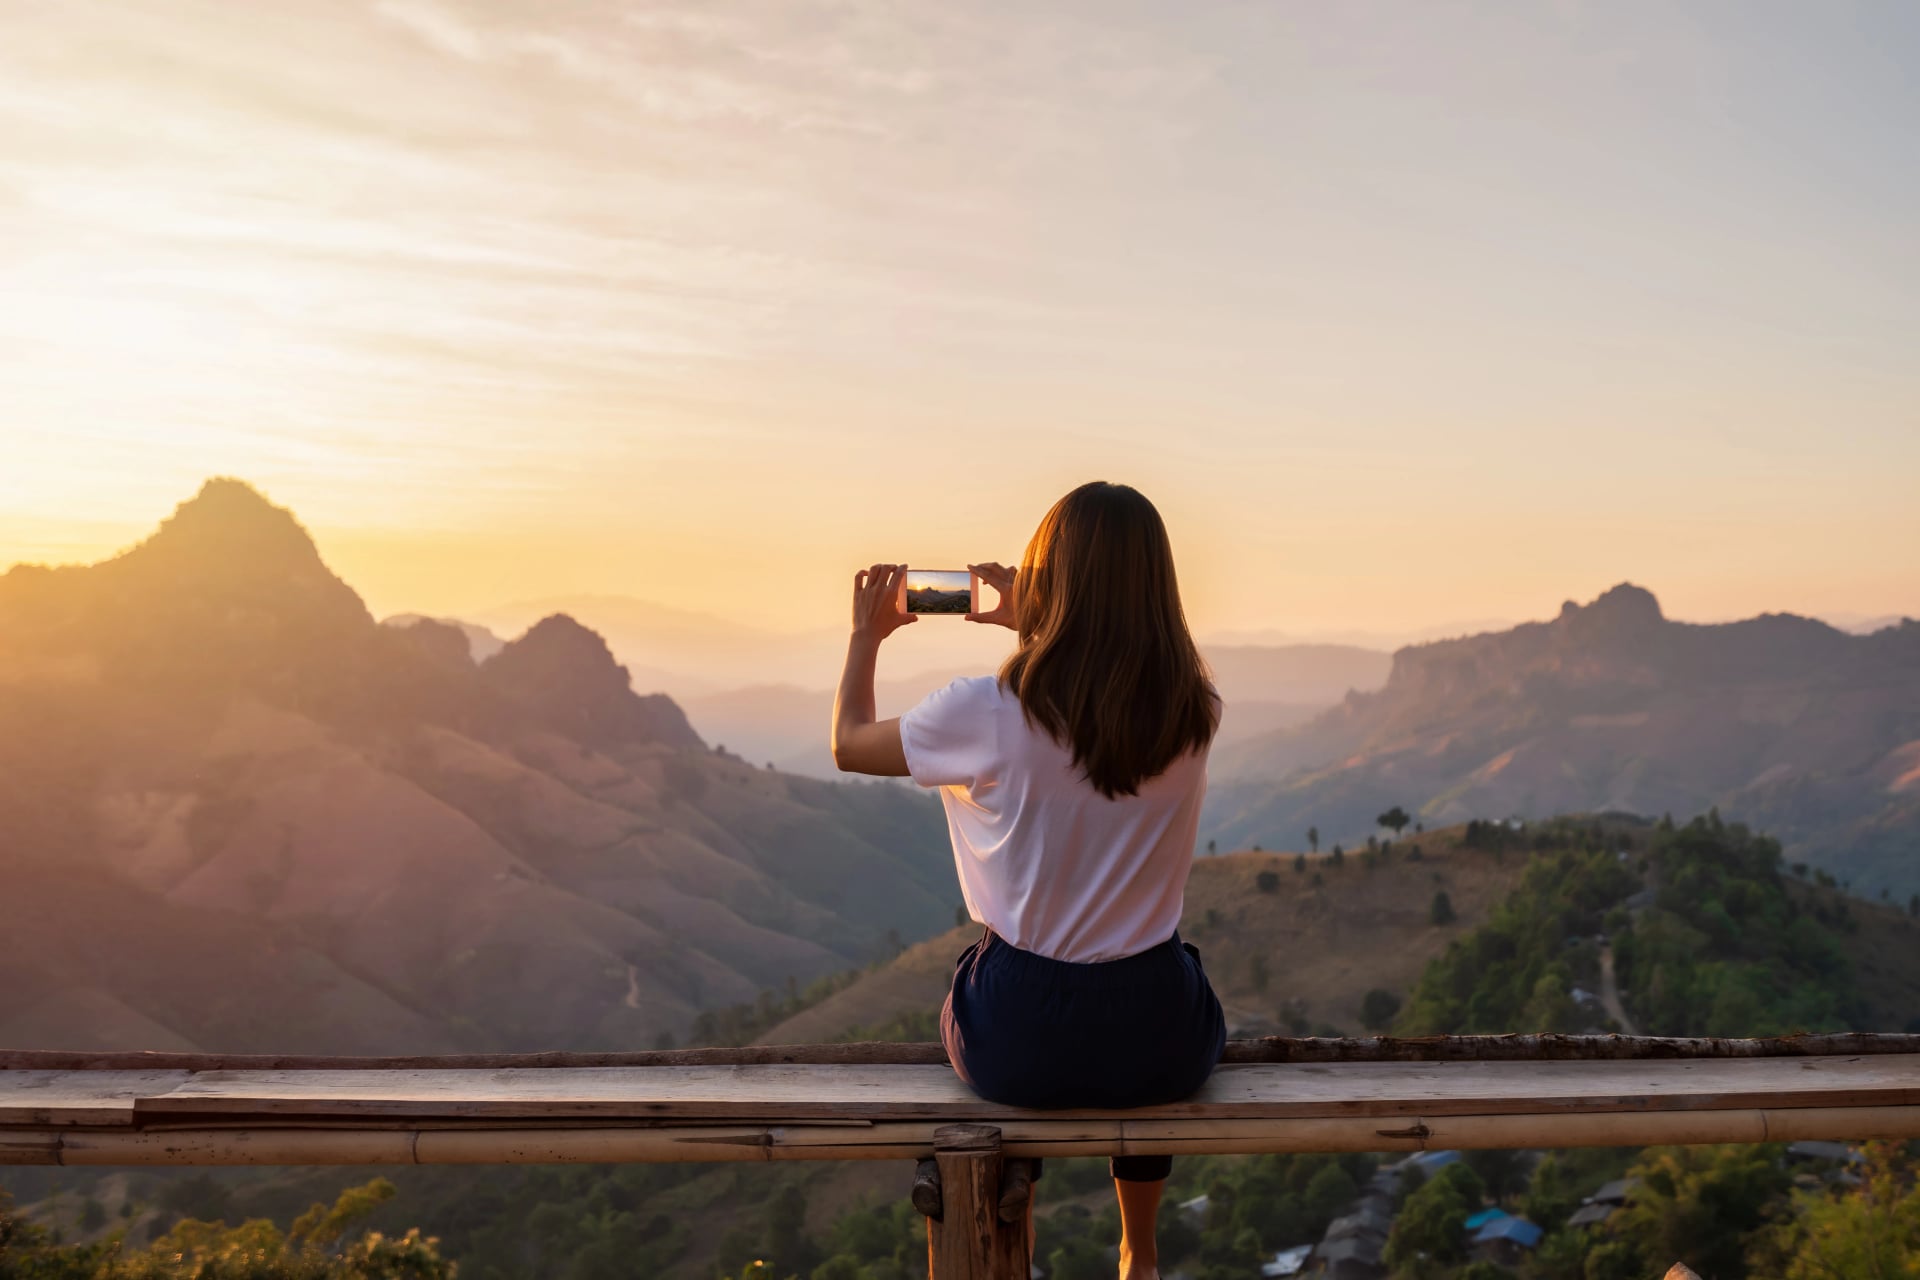
3. Master Sunset Photography
Sunsets are tricky: your phone’s automatic exposure often struggles with the bright sun and darker foreground.
Here’s how to nail it:
Lock focus and exposure: Tap on the sky or on the landscape, then slide your finger to adjust brightness.
Silhouettes: Place a hiker or tree between you and the sun for dramatic silhouettes.
Reflections: Look for lakes or calm streams — the golden hour reflected doubles the wow factor.

4. Use the Rule of Thirds (Your Phone Already Has the Grid)
Open your camera settings and turn on the grid overlay. Most phones have this buried in camera settings — it puts a tic-tac-toe grid on your screen. Instead of plopping the horizon dead centre, align it with the top or bottom line.
Place your subject where the lines intersect — a trail marker, a fellow hiker, a lone tree.
It sounds simple because it is. And it instantly makes your photos feel more balanced and intentional.

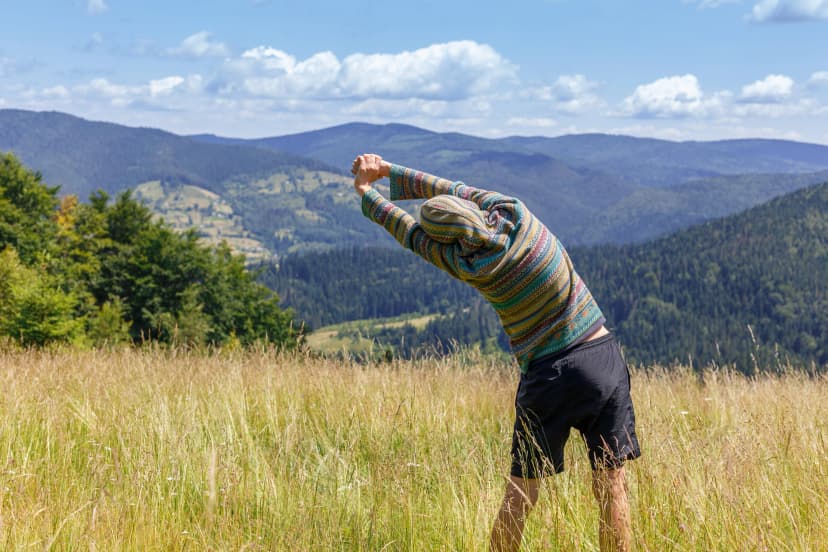
5. Get Low, Get Close, Get Creative
The most boring hiking photo in existence is a standing-height shot pointing vaguely at a mountain.
Shake things up!
Crouch down and shoot along the trail so the path leads the eye into the distance.
Get close to wildflowers with the mountain behind them.
Frame a peak through tree branches.
Use rocks, streams, or fences as leading lines that pull the viewer into the scene.
.png&w=1920&q=85)
The best hiking photos tell a story of being there, not just looking at something from far away.
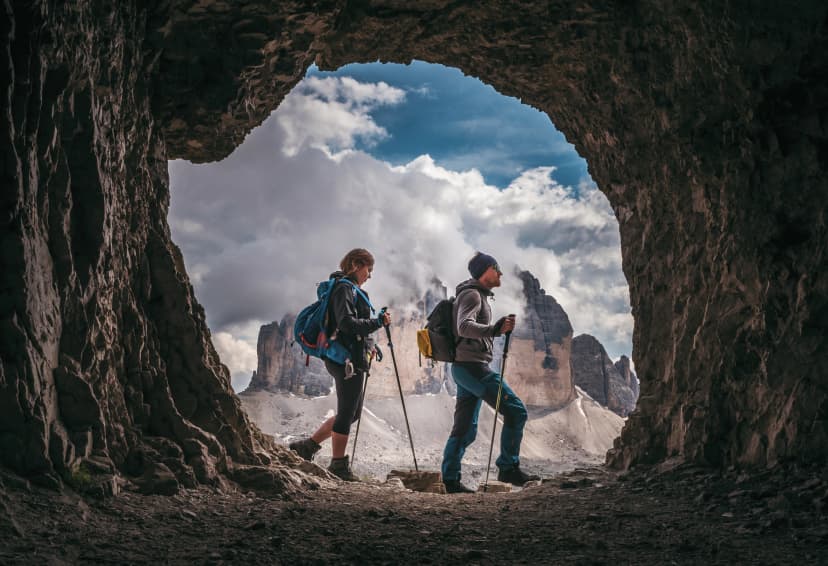
6. Add a Human Element
An empty landscape is nice. An empty landscape with a tiny figure in a red jacket standing on a ridge? That's a wow photo.
People in the frame give the viewer a sense of scale and immediately make the image more relatable.
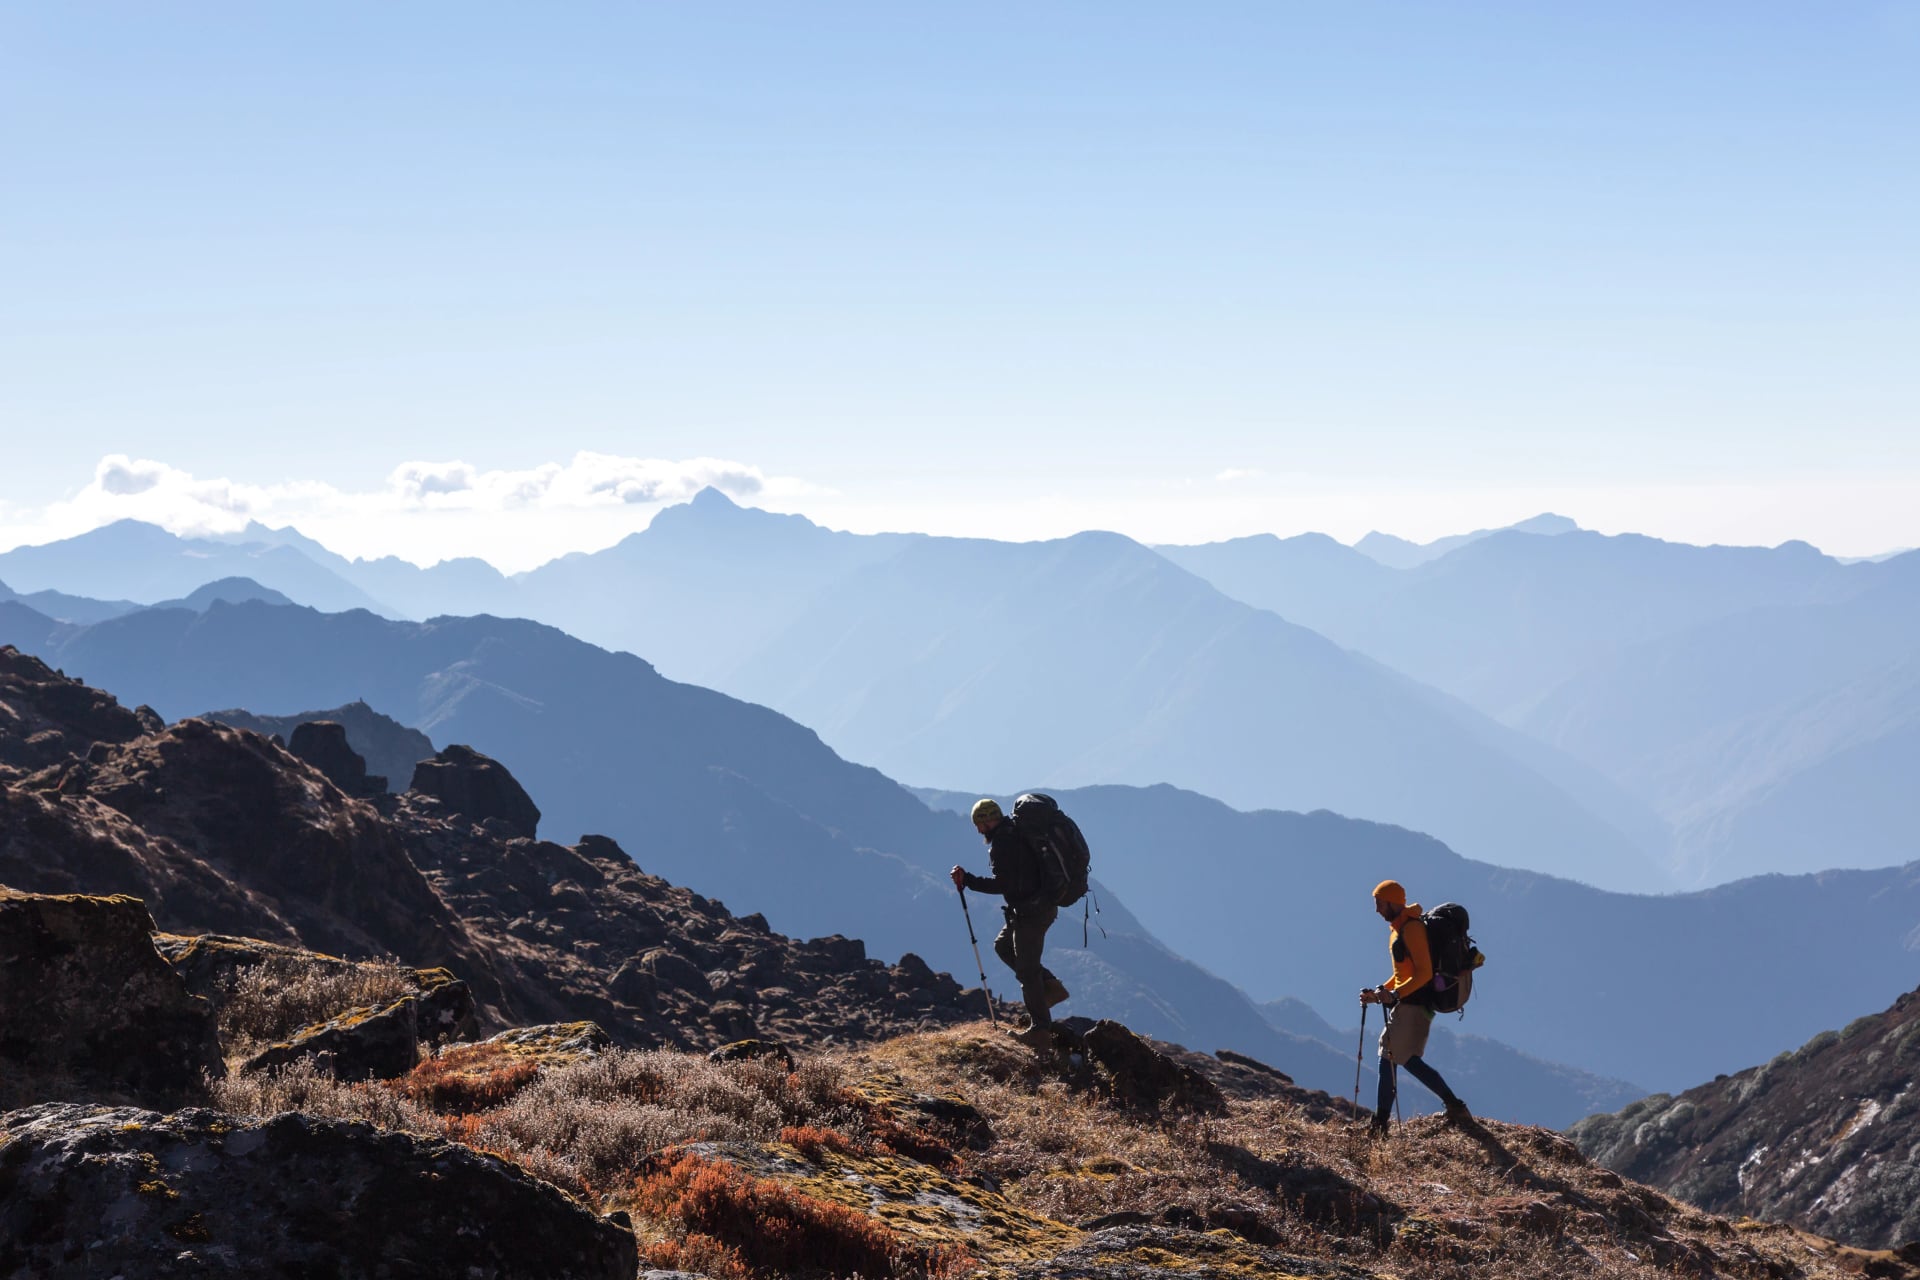
Show the magnitude of the landscape by adding subjects to your photos
Ask your hiking buddy to walk ahead a few metres and pause — or set a timer and put yourself in the shot.
Pro tip: Small figures work best. You want the person to complement the landscape, not dominate it.
On the Laugavegur Trail in Iceland, the landscapes are so vast and surreal that adding one small person instantly shows scale and turns a pretty photo into a story.
7. Master Your Phone's Portrait Mode for Details
Portrait mode isn't just for selfies. Use it on trail details — a weathered trail sign, your hiking boots on a rocky ledge, a butterfly on a wildflower. The blurred background (bokeh) isolates your subject and gives photos that polished, professional feel without any editing.
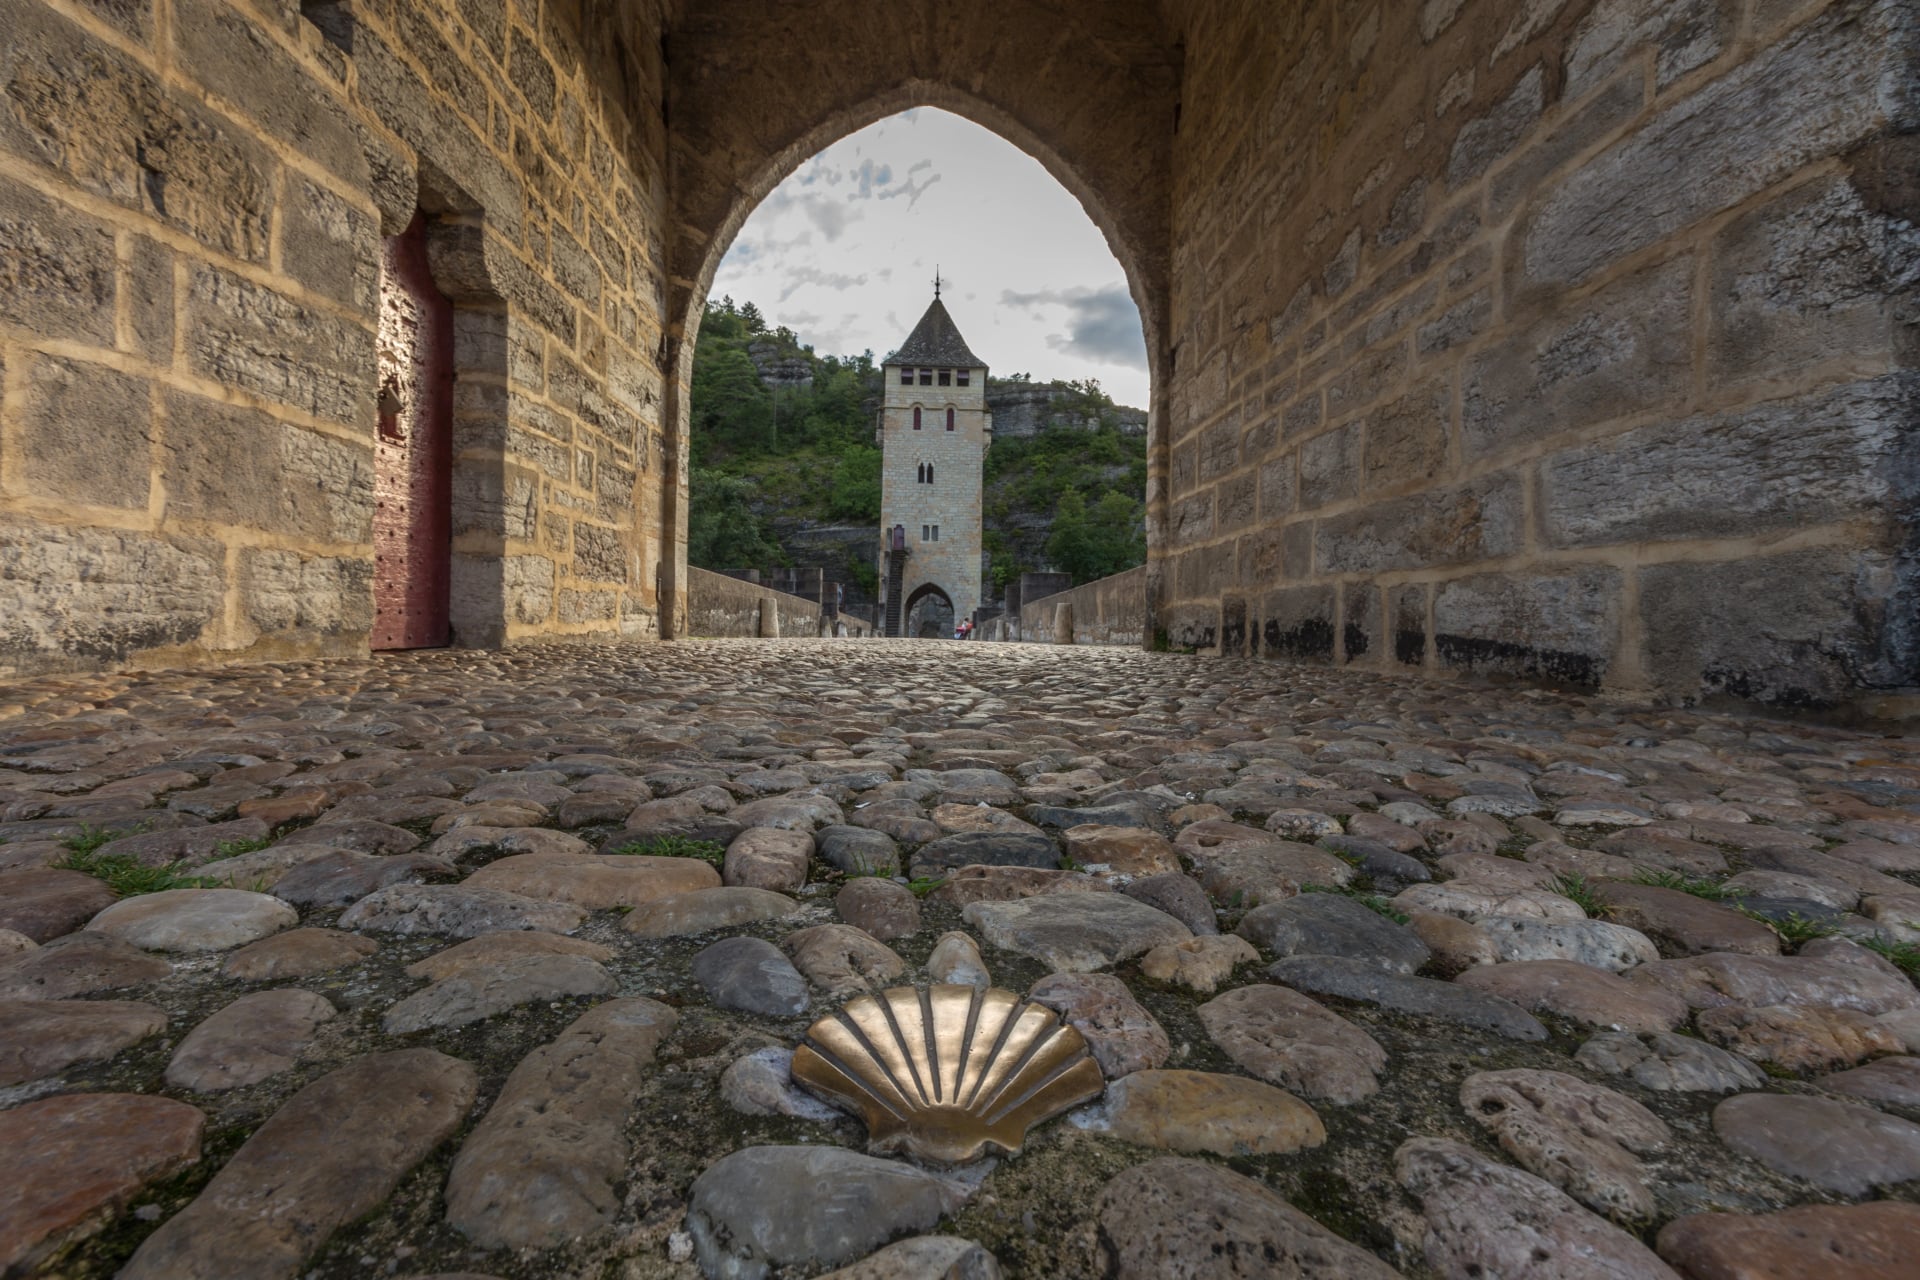
On the Camino de Santiago, these small details — shells, arrows, dusty boots, café stamps — often tell a richer story than big panoramas.
8. Lock Your Focus and Exposure
Here's a trick most people don't know about: tap and hold on your phone screen where you want to focus.
On iPhones you'll see "AE/AF Lock" pop up; Android phones have a similar feature. This locks both the focus and the exposure so they don't shift around while you're composing your shot.
This is especially handy for sunrises and sunsets — tap on the sky to expose for the colours, or tap on the foreground to keep the landscape bright. You can also slide your finger up or down after tapping to manually adjust brightness.
To put it in perspective: bright snow, dark rock, and glowing skies can completely confuse automatic settings. Check this photo from Stubai High Trail in Austria.

9. Shoot in Burst Mode for Action Shots
Crossing a stream? Scrambling over boulders? Running along a ridge like you're in a movie?
Hold down the shutter button (or volume button) to fire off a rapid burst of photos. You'll capture that one perfect mid-stride moment you'd never nail with a single tap.
Go through them later and keep the best one. Delete the other 47. Nobody needs to know.
.png&w=1920&q=85)
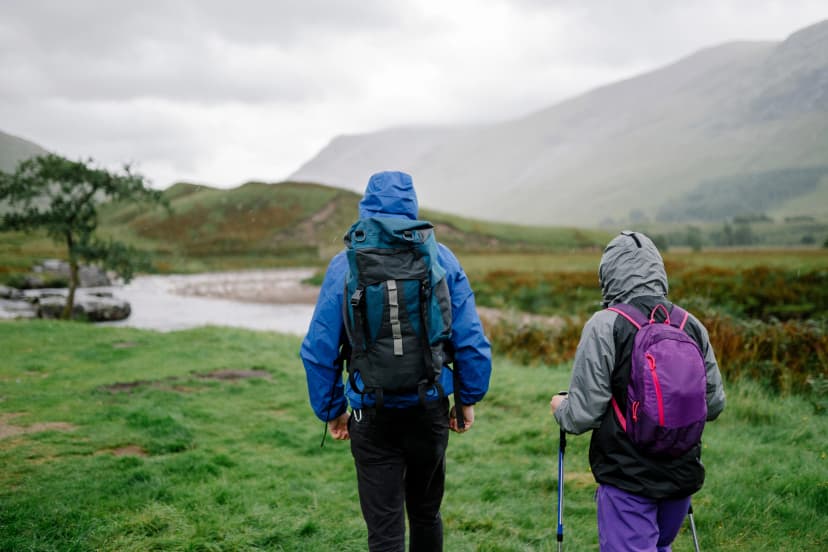
10. Embrace the Weather
Overcast skies, moody fog, rain-soaked trails — these aren't bad conditions for photography. They're incredible conditions.
Mist hanging in a valley is ten times more atmospheric than a plain blue sky.
Rain on leaves makes colours pop.
Clouds add drama to any ridge shot.
Just keep your phone protected (a zip-lock bag works in a pinch) and lean into the mood.

11. Edit — But Keep It Real
A little editing goes a long way. Most phone gallery apps have built-in tools that are surprisingly powerful.

Here's a quick editing checklist that takes under a minute:
Bump up the contrast slightly to add depth.
Bring the highlights down to recover detail in bright skies.
Push the shadows up just a touch to brighten dark foregrounds.
Add a tiny bit of saturation — but stop before the greens start looking radioactive.
Straighten the horizon if it's even slightly crooked — tilted horizons are surprisingly distracting.
The Photographer in You is Ready!
If you're still deciding to go on which trail to put your photography skills to test, we made it easy for you - our hiking & walking holidays bring together the most scenic trails around Europe and beyond.
In case you need help choosing the one that's best for you - we are just a clicks away. ;)

About this author
Suzana is our travel advisor and a hiker who believes the best trails aren't just about the summits. She loves spotting alpine plants, watching wildlife, and the laughs, chats, and snack breaks that make every trail worth walking.


.jpg&w=828&q=75)